I think it’s unfortunate that you can still find people out there bad mouthing the built-in or pop-up flash as a feature only “amateurs” use. They think a true “pro” would never waste their time with it. I think that’s snobbish and self defeating. Don’t listen to them.
The pop-up flash is an important and useful tool.
Fill Flash: Portrait in a non-formal portrait setting. Main light coming from window, camera right. One side of face lit, other side shadow. Dial down the pop-up flash to -1.3 EV. I find this puts just the right amount of light in there. Catch light in the eyes. It just fills in, doesn’t overwhelm. ( -1.3 EV worked for me in this case. Do some experimenting and see what works best for you.)

Portrait of John. Fuji X100S. 1/125 sec f 5.6. Built in flash fired at -1.3 (I believe!)
Fills in shadow side of face just a touch. Small catch light in eyes.
Main Flash: Flowers in the shade. Sure, lovely colors. But flip the flash up, dial it down to about -0.3 EV and shoot. All those colors will now pop. More vibrant than without.

Flowers without flash. Fine image. Nice colors.
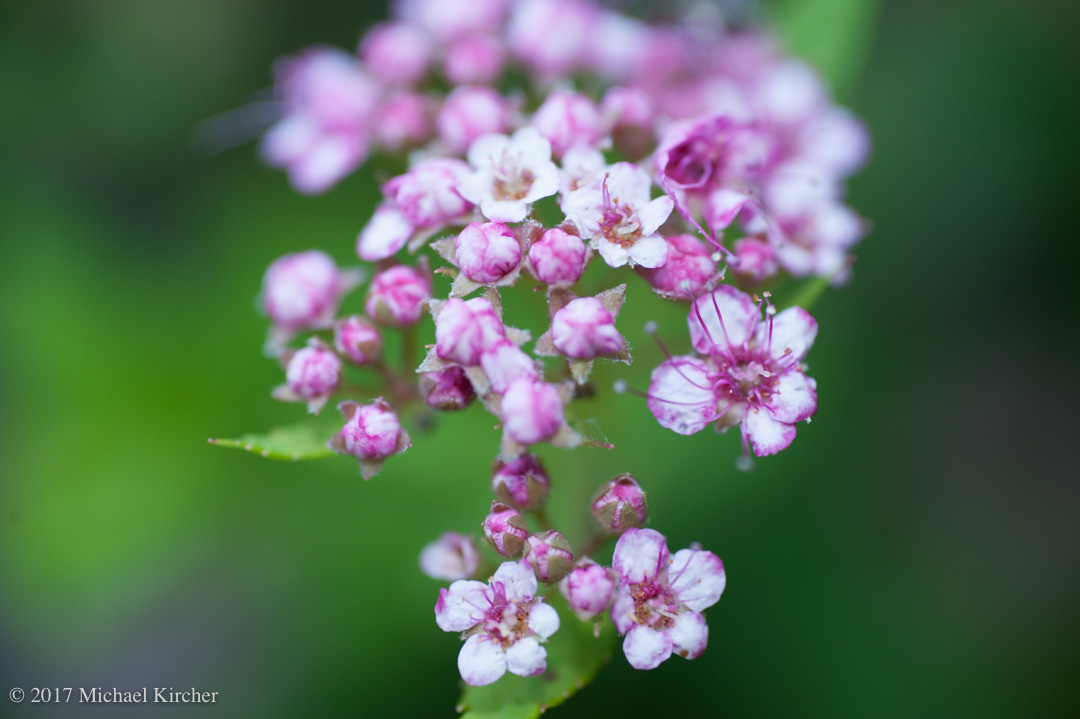
Flowers with flash. A little more vibrant.
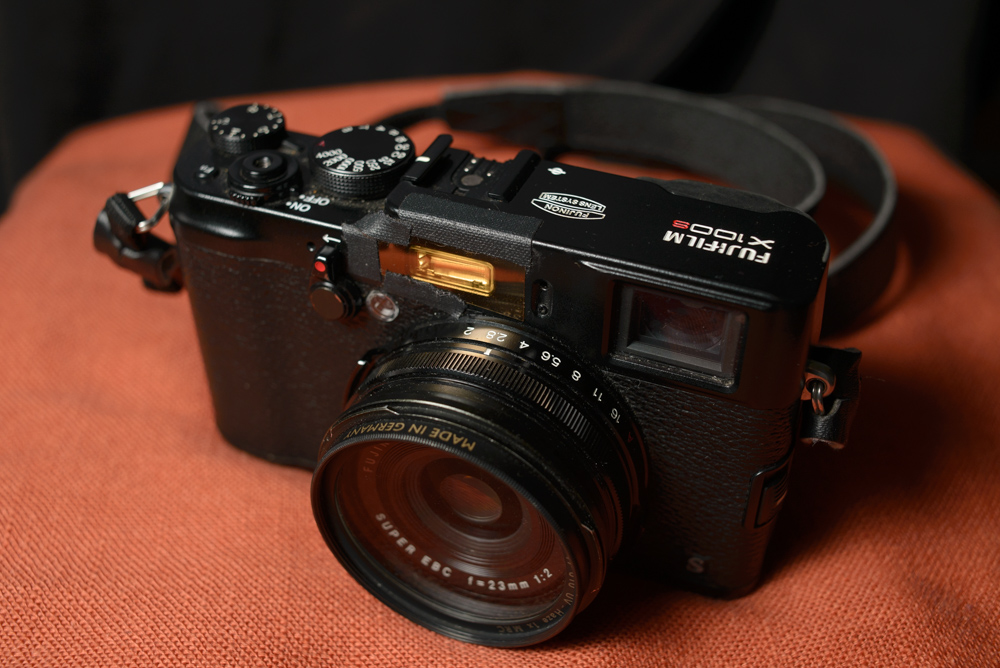
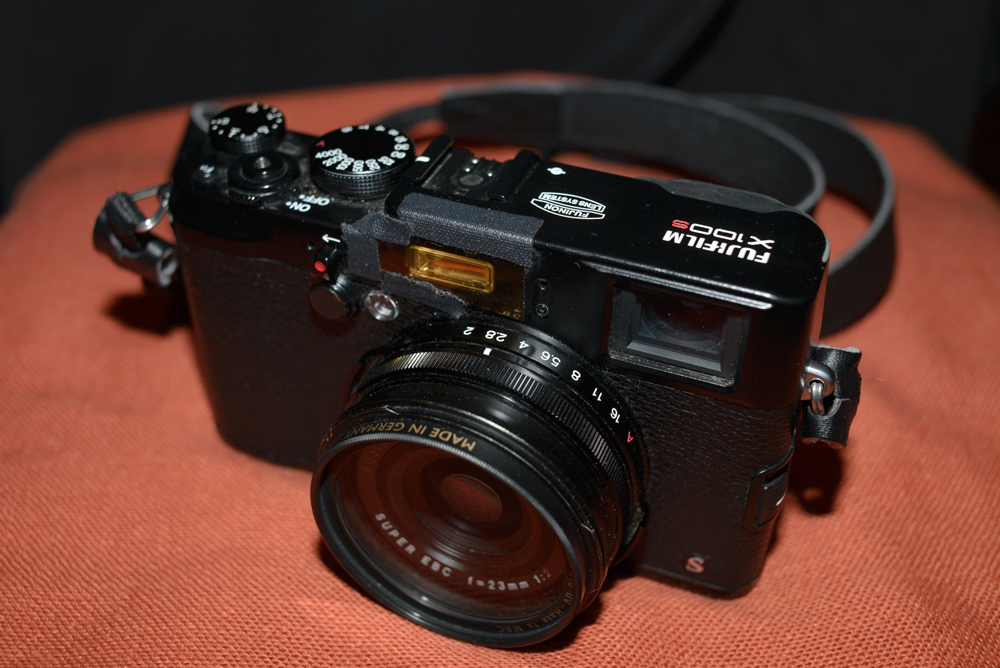
Modified: This is useful for all kinds of flash/strobe photography, so I thought I’d toss it in here for a little extra tip. Using gaffer tape or, as I do, small strips of velcro, affix a 1/4 CTO gel to the flash and you get a more natural color temperature. Not that cold bluish/white color. It’s a slightly warmer tone and is usually very pleasing. I like this for almost everything, but definitely when shooting people.
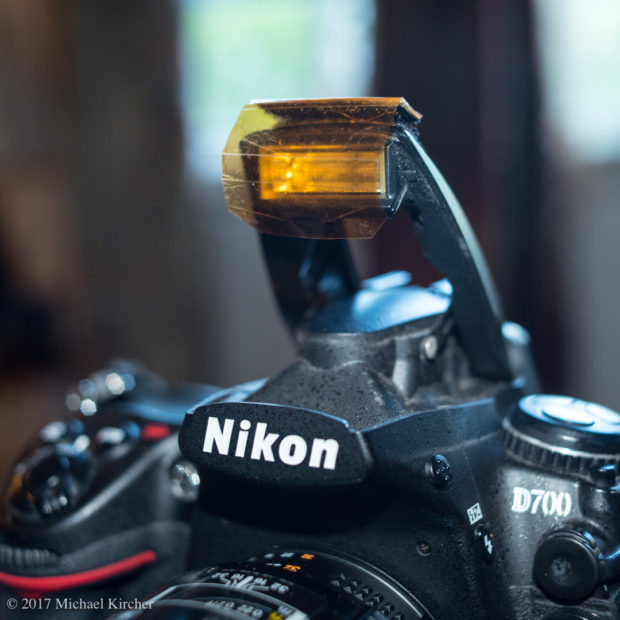
Amber gel affixed to the pop-up flash of a Nikon D700 using custom cut velcro strips.
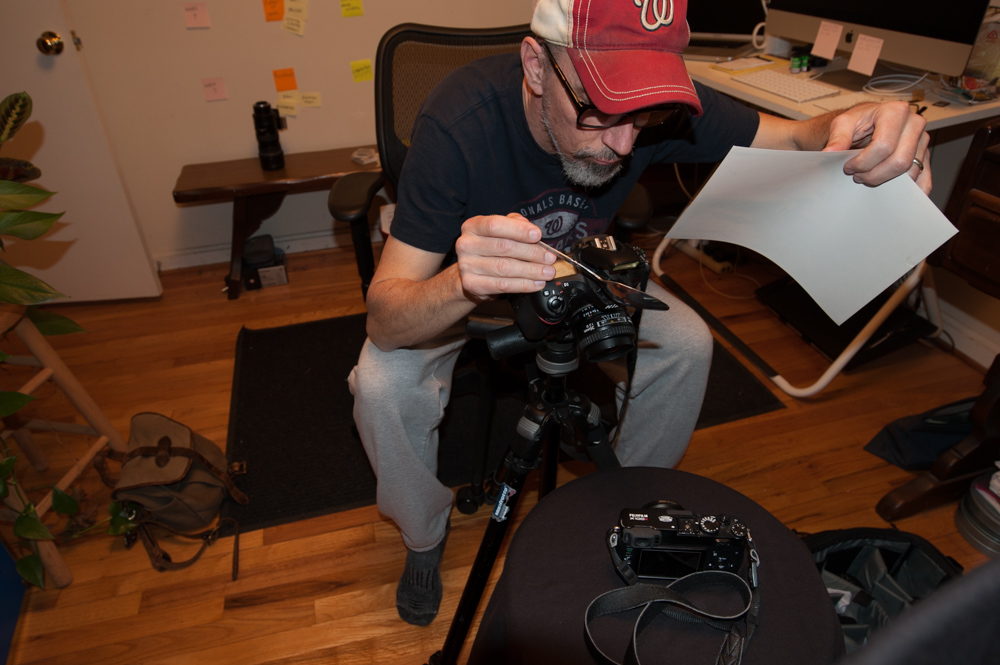
Getting creative: Follow this link to a previous post on how to get an off camera soft-box look using your pop-up flash, a spoon and a white piece of paper (or–in this case–the back of an 8X10 print)!